Operation A-Go: Counterattack

The Japanese are launching a full scale assault on our position. Defend it at all costs.
It’s back to the Hell’s pocket for this final counterattack mission, pitting your defenses against a second set of 14 waves of mixed ground and air units. Like the other counterattack missions, your primary focus revolves around fortifying the defenses you left off with the previous time you were here and expanding upon the same strategies.
This guide will cover how to get a Full House, which is a perfect round with all medals and 20 victory points, on the Operation A-Go level of the iBomber Defense Pacific campaign, played on Veteran difficulty. In addition, this mission guide will also cover the secondary objective and hidden target along with a walkthrough video.
Secondary Objective
Destroy the Japanese artillery before they destroy your turrets.
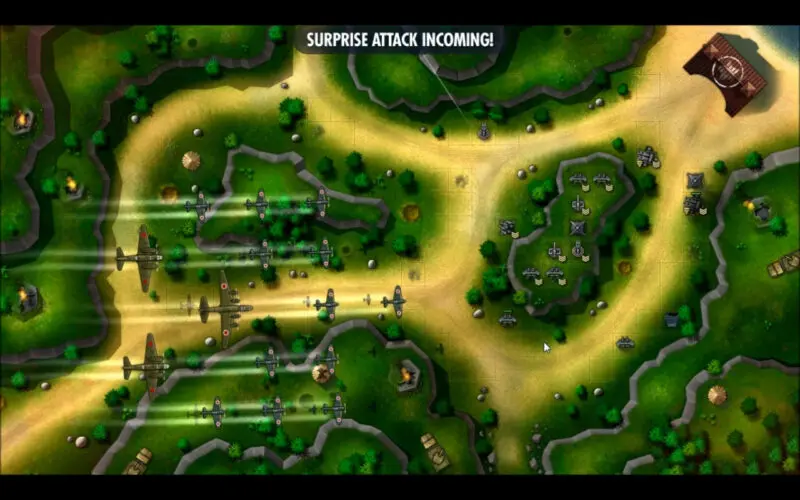
Instead of the normal surprise attack fare that opens a counterattack with enemy bombers messing up your defenses, they instead just fly aimlessly over your base while 5 strong artillery piece vehicles move in. You will encounter one from up top, one to the left and right, and two positioned on the bottom high ground. You will need a nice handful of bombs to handle the pieces that your turrets can’t reach themselves.
Supply Crates: none
Victory Points So Far: 360
- Machine Gun lvl 3
X2 Power vs Flamed Specialization - Cannon lvl 3
- Bomb lvl 3
- Flamer lvl 3
Slower enemies specialization. - Comms lvl 3
Increased interest specialization - Rocket lvl 3
Faster rockets specialization - Anti-Air lvl 3
Perks used for this mission:
- Ironback II
- Entrenched II
- Phantom Strike
This mission is going to be dishing out far more damage than before on your turrets, with strong enemies and the Japanese artillery pieces really causing your repair bills to skyrocket. Because of this it is really important to take Ironback.
Entrenched II gives serious damage bonuses to dug-in turrets, which will be incredibly helpful against the super heavily armored tanks, while Phantom Strike is still as useful as it was in previous missions for the same reasons.
Hidden Target
There is no hidden target here since this level is a counterattack.
Turret Placement

Starting defenses in Operation A-Go that have carried over. The bomb in the bottom right will need to be moved for now, as it is exposed to the artillery. Wave 5 turret placement.
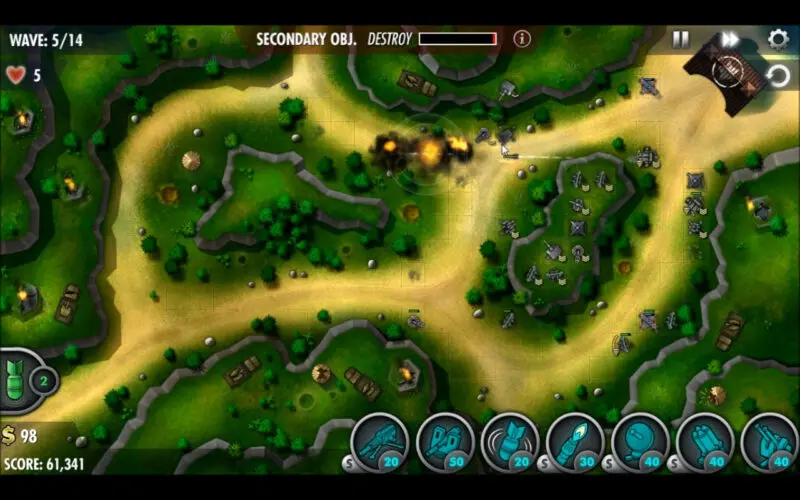
Turret Placing in Operation A-Go is relatively simple in theory, although things may get a bit hairy when the really tough tanks come in, or during the first few waves when the Artillery pieces are all still up and firing on you. Like all counterattacks, your strategy will be to build up around your defenses that have carried over from Hell’s Pocket. Some squishy turrets like Bombs may need to be sold and re-positioned elsewhere, if they are being fired on by the Artillery, to prevent wasting an exorbitant amount of funds keeping them alive until you can deal with the artillery.
At least 1 of the artillery pieces should be within range of your turret (right). The top piece parks right next to a raised spot, which is great for a Cannon supported by a flamer and comms below it. This adds to defense and saves some bombs since the Cannon can blast the artillery to hell pretty quick.
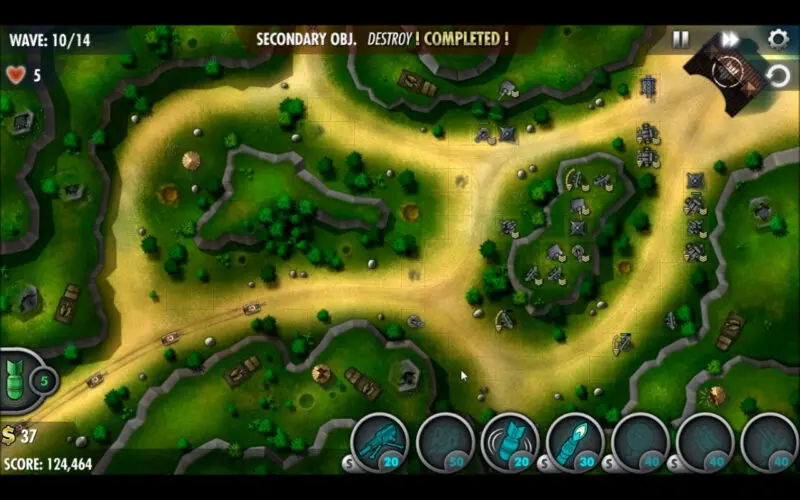
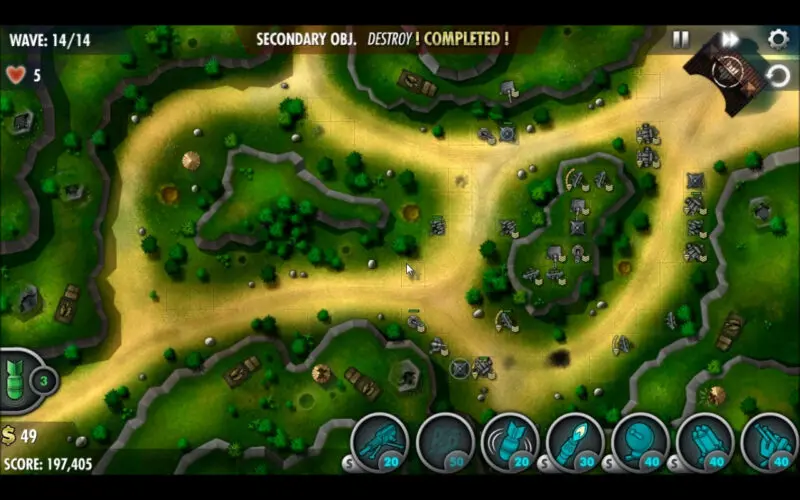
As the pieces are destroyed and funds are freed from repairs, start building more Rockets with comm support and dig them in, positioned down the lines of approach. They will be invaluable here. Besides upping your ground-pounding damage, make sure to add a second AA at wave 3, upgraded to lvl 3 through the next few waves. A third AA will be needed by the end of wave 13, upgraded to lvl 3 as well for good measure.
Wave 10. Wave 14.