Manila: Liberation
Destroy the remaining Japanese and retake Manila.
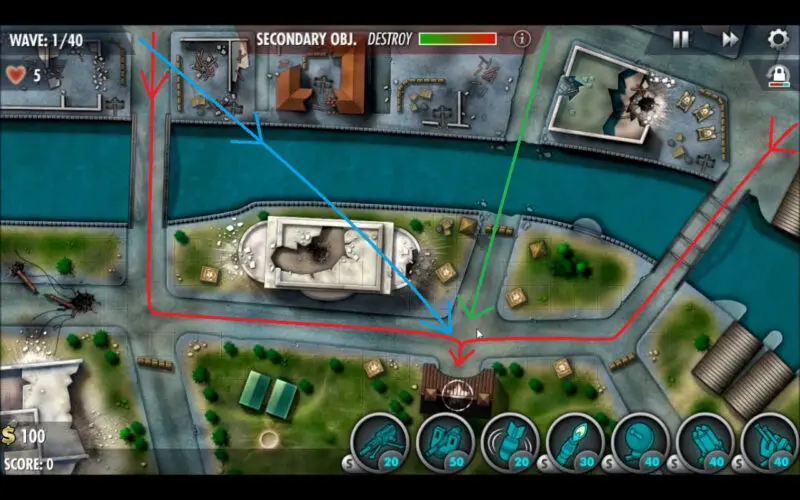
It’s time for the final level and the real test of your skills thus far for 40 waves of ground and air units. After the last mission, this one may seem easier, as it builds upon the intense micromanagement needed in Iwo Jima to again prevail here in Manila. Keep in mind that although two paths of ground units are present at the beginning, a third one in the middle will open up at wave 12. The best part of this mission and the real saving grace, if taken advantage of correctly, is that the enemy approaches are in pretty straight lines with sharp turns, giving Rockets a serious advantage.
This guide will cover how to get a Full House, which is a perfect round with all medals and 20 victory points, on the Manila level of the iBomber Defense Pacific campaign, played on Veteran difficulty. In addition, this mission guide will cover the secondary objective and hidden target along with a walkthrough video.
Secondary Objective
Destroy all of the Japanese artillery positions.
There are 5 artillery units positioned on the north side of the map that will constantly fire on your turrets near the river throughout the mission, including the spot you need to build AA on. You will need to bear through this for a few waves until there are enough available funds and bombs to get rid of them, so keep an eye on repairs. Each artillery takes 3 bomb hits to fully destroy, 2 of which can probably be a bit off target if you also need to hit a nearby sneak attacker.
Supply Crates: 5
Victory Points So Far: 420 (20 unspent)
- Machine Gun lvl 3
X2 Power vs Flamed Specialization - Cannon lvl 3
- Bomb lvl 3
- Flamer lvl 3
Slower enemies specialization. - Comms lvl 3
Increased interest specialization - Rocket lvl 3
Faster rockets specialization - Anti-Air lvl 3
Comms boost specialization
Perks used for this mission:
- Eagle Eye II
- Entrenched II
- Phantom Strike
This level will depend heavily on digging in your turrets, thus making Entrenchment a good pick, with Eagle Eye needed to make sure you can re-track fast tanks if they make it past your defenses. You will still need to reposition arcs of fire; however, trust me, it helps a lot since they still need to track the target. Phantom Strike will combine with the dig-in range bonus and the comms range bonus to allow your turrets, in particular the Rockets, to have extreme reach, hitting and even killing targets before they start crossing the bridge.
Hidden Target
The hidden target in Manila is the pair of warehouses that sit on the water’s edge, all the way in the bottom right corner of the screen above your build AA icon.

Turret Placement

Wave 5 Wave 10 Wave 15 Wave 20
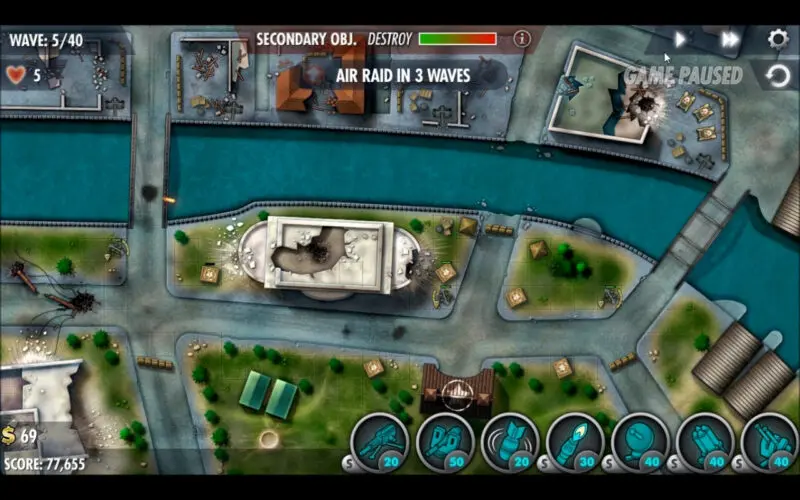
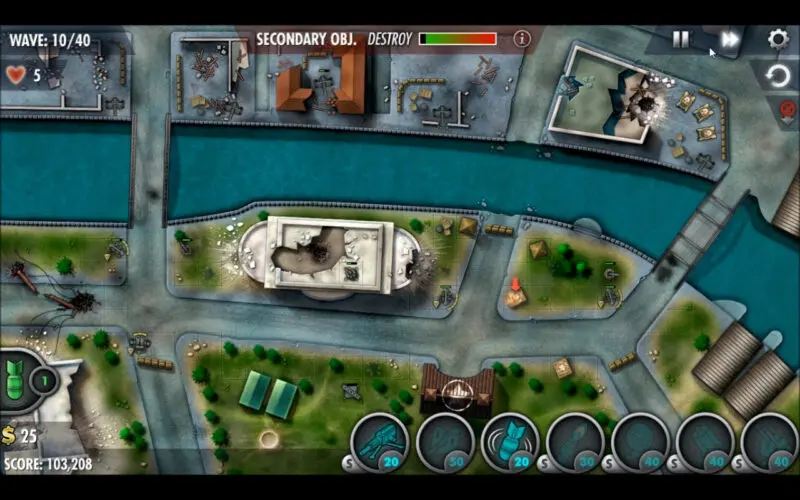
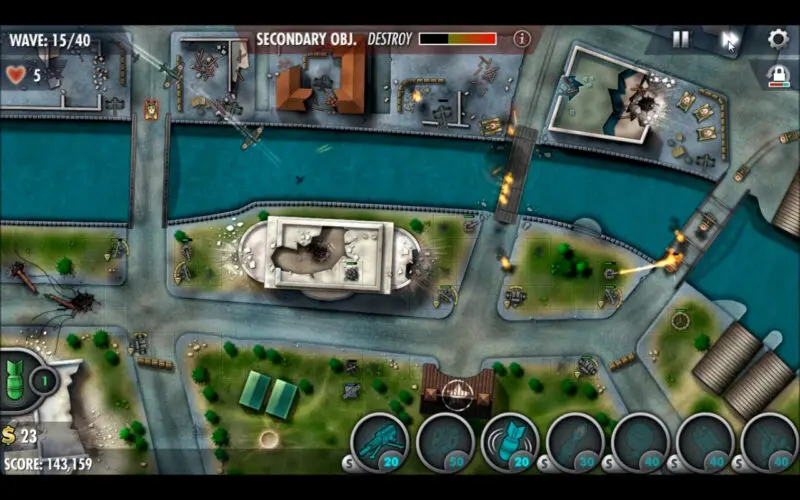
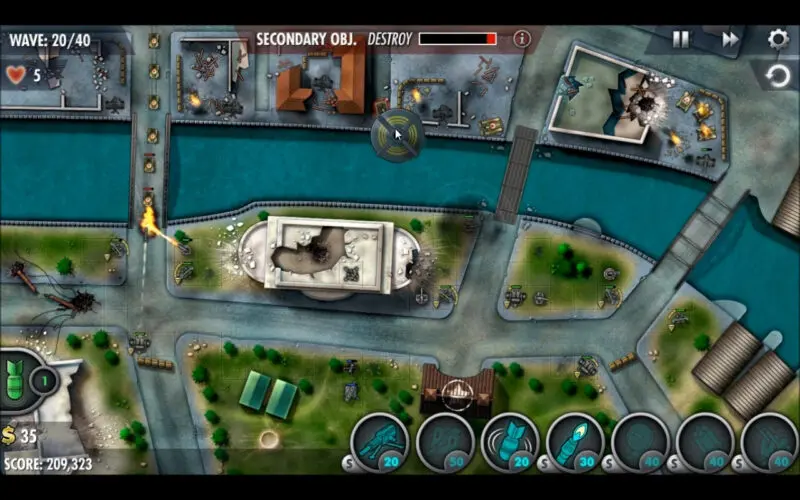
Like with the last mission, there is so much to describe here that it’s best covered by the video above. However, here is another list of important tips to keep in mind:
- Again you will need to dig in all the turrets you can possibly do so with, making sure to keep your finger near the pause button so they can be repositioned as necessary. Micromanagement of your turrets and their fire arcs is what makes you either pass or fail here.
- Each entrance should have a Flame, 2 Machine Guns and a Rocket turret at first, the rockets positioned at the end of the straight lines the enemy units make so they hit as many targets as possible with each salvo.
- The sooner you can boost your turrets, in particular the rockets with Comms, then the balance of power starts to tip in your scale significantly.
- You will need to wait a few waves to build a bomb turret, until then just keep up with repairs. rushing the bomb as opposed to another turret can potentially be disastrous later on.
- Save the 1 high ground spot you have for your AA tower. It can stay level 1 until wave 20, when it needs an upgrade to level 2, then level 3 at wave 26. Build a second one by the start of wave 32 behind it, upgraded at wave 36 to level 2 and the final upgrade as soon as you can after to keep the skies clear.
- Keep some bombs saved, especially in the second half, to help prevent possible leaks. You can take out all of the crates with turret fire alone.
- Dug in cannons make for great counters to the fast tanks which will often evade rockets, not to mention their range also means they work great in tandem with rockets.
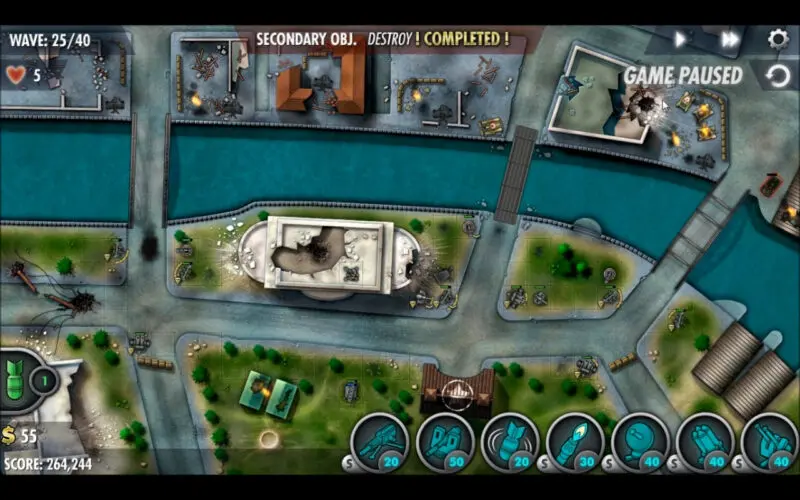
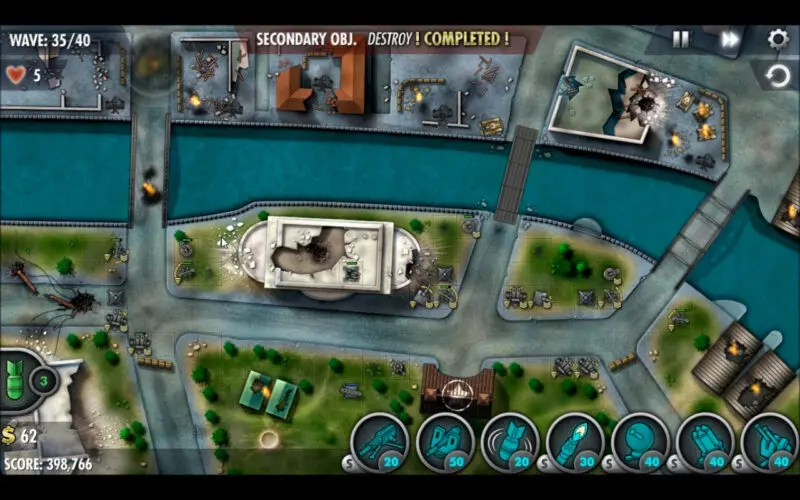
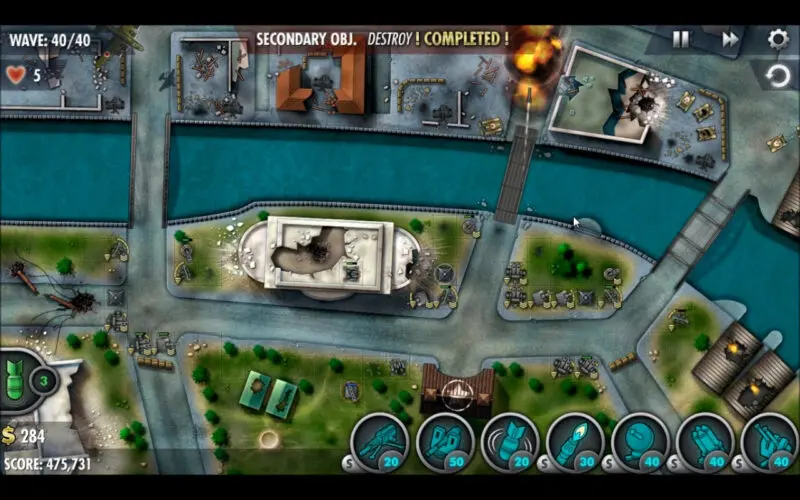
Wave 25 Wave 30 Wave 35 Wave 40