Operation Hailstone: Truk Island
Stop the invasion of Truk. It is significant in the support of islands and atolls throughout Central and South Pacific.
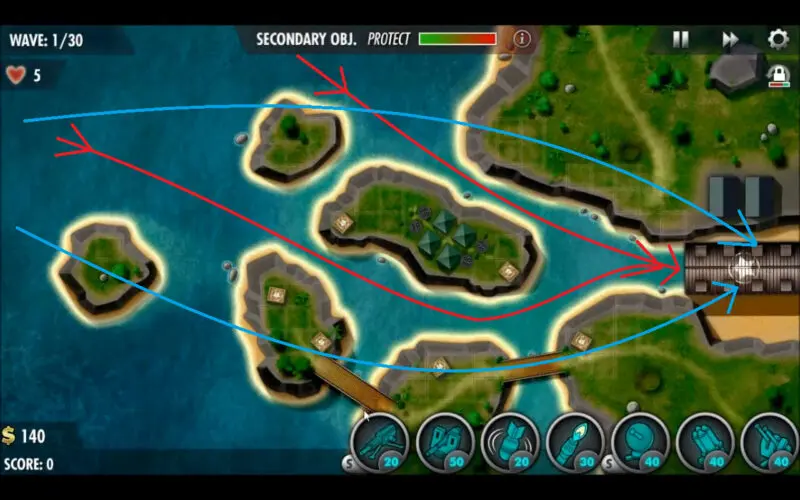
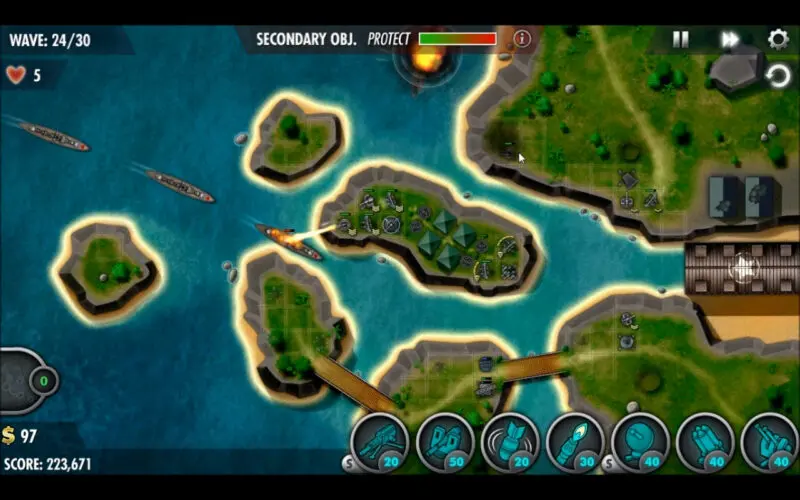
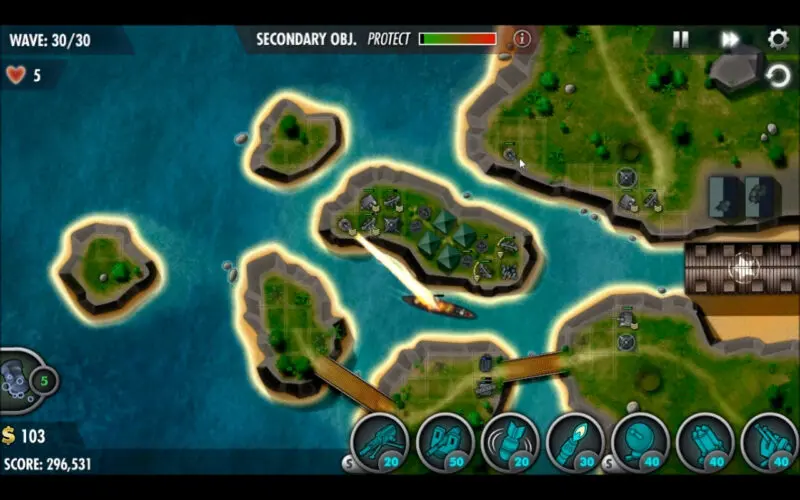
In Operation Hailstone, you will be protecting your base from a series of naval and air waves that come down and around the central island of the map, where most of your defenses will need to be focused. You will need to survive against a total of 30 waves that progress from small gunboats to the incredibly tough destroyer-sized vessels. Making good use of the central island strip that falls between the two red paths, as seen on the map above, will be crucial in making the most of your money spent on turret power.
This guide will cover how to get a Full House, which is a perfect round with all medals and 20 victory points, on the Operation Hailstone level of the iBomber Defense Pacific campaign, played on Veteran difficulty. In addition, this mission guide will also cover the secondary objective and hidden target along with a walkthrough video.
Secondary Objective
Protect the AA encampment in the area.
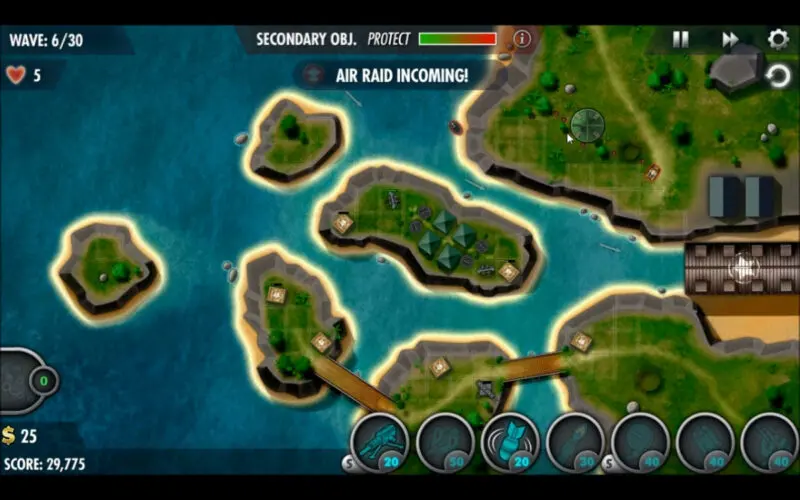
There is a small base that contains four small anti-air guns, about equivalent to a level 1 turret each, sitting at the center of the map. Building around this base will not only allow us to completely protect it from damage but also make use of the guns to assist in the air waves and help save some money on AA turrets. Thanks to this position also having excellent coverage of the naval paths as mentioned above, entrenching this base is beneficial for your ground-based firepower, too.
Supply Crates: 6
Victory Points So Far: 260
- Machine Gun lvl 3
X2 Power vs Flamed Specialization - Cannon lvl 3
- Bomb lvl 3
- Flamer lvl 3
- Comms lvl 3
Increased interest specialization - Rocket lvl 2
- Anti-Air lvl 3
Perks used for this mission:
- Greenback II
- Eagle Eye II
- Phantom Strike
Quick aiming will be very helpful along with the Phantom Strike’s increased range. Most of your turrets will need to protect two paths simultaneously, thus less time spent moving between targets and more time firing on them brings a significant benefit.
Hidden Target
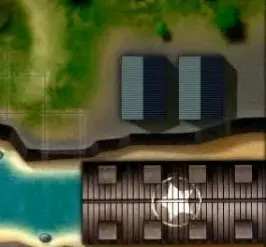
The hidden target in Operation Hailstone is the pair of blue warehouses just north of your base; they’re the only real structures in this level besides your base.
Turret Placement
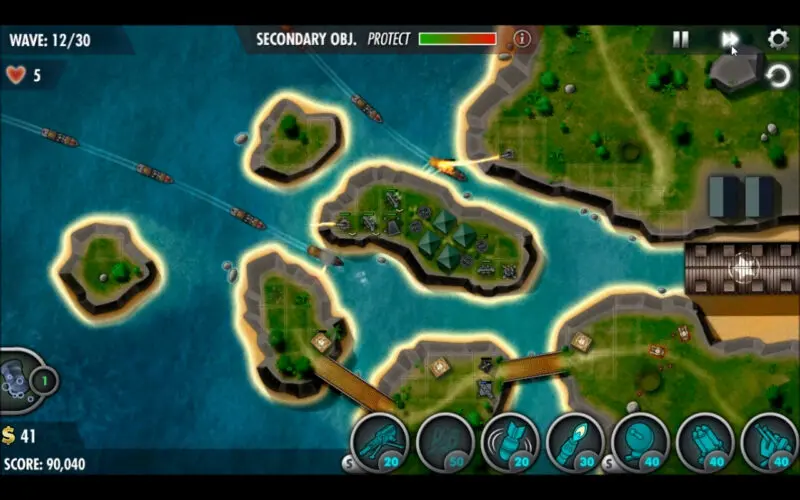
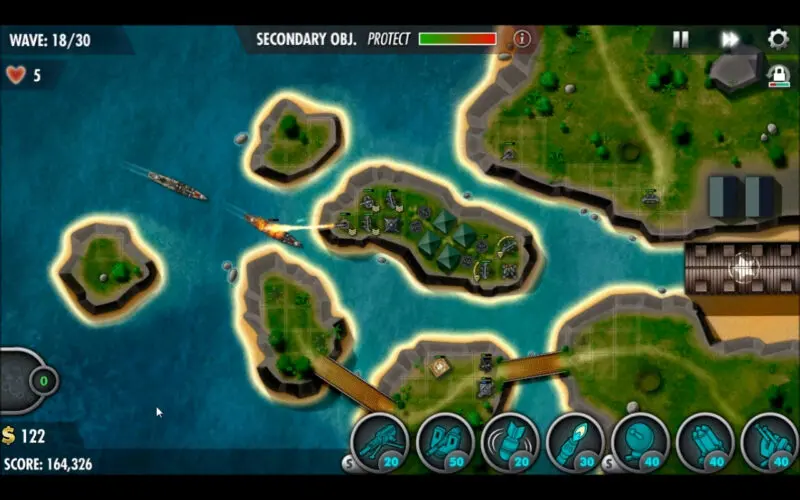
Placing your guns will first revolve around outfitting the central island with as many weapons as possible, since any turrets placed there give you the best coverage of enemy units—with the exception of your bomb turrets, which should be placed elsewhere out of harm’s way. The island directly south is a relatively decent spot for them, being limited in terms of susceptibility to enemy fire and sneak attacks. The island’s AA will help take care of the first few air waves, but one AA turret placed on the right bottom corner will round out the air defenses needed here.
Try to have a flame turret dedicated for each path, one of which will probably have to be built on the northern mainland. Eventually, as you have the central island filled out and upgraded, you’ll want to add some comms-boosted cannons and perhaps a Machine Gun by the entrance to your base to help weed out any stragglers that make it through. Finally, save up your rewinds and bombs in this mission, especially towards the end, since submersibles and the tougher ships make things tricky and may need a quick bombing to prevent a leak.
