Battle of Tenaru: Watchtower
Protect your position in the Solomons against an unexpected counterattack.
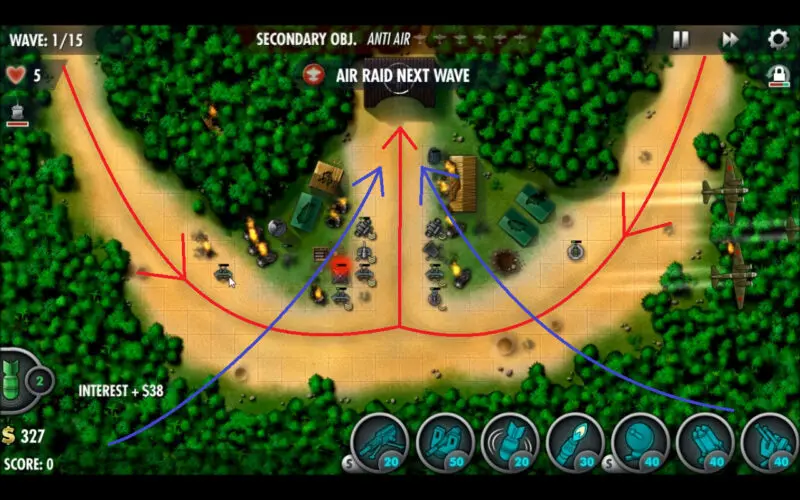
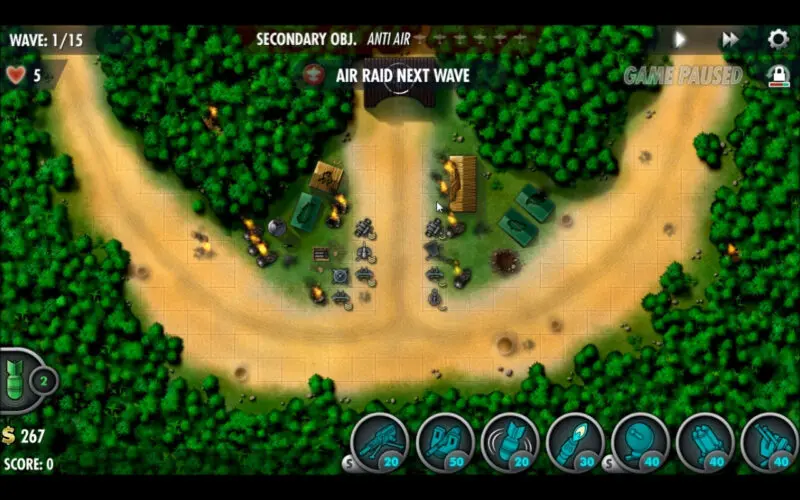
In Battle of Tenaru, you will be returning to the previous level of Alligator Creek, complete with the turrets you had leftover at the end of the mission, to fight another 15 waves of mixed ground and air. Your units will be bombed in the opening moments of the level, destroying the base you worked so hard to protect last time. Make sure to repair everything right away.
This guide will cover how to get a Full House, which is a perfect round with all medals and 20 victory points, on the Battle of Tenaru level of the iBomber Defense Pacific campaign, played on Veteran difficulty. In addition, this mission guide will cover the secondary objective and hidden target along with a walkthrough video.
Secondary Objective
Japanese airpower has increased in the area. Build AA towers to protect our position on Guadalcanal.
As was mentioned in the guide for the original set of waves in this location, you should have the 6 spaces closest to your base (along the last bit of the path) open for building AA towers. You may need to sell some towers if you built here, since placing them elsewhere will leave them woefully exposed to extreme amounts of damage and costly repair bills.
Supply Crates: none
Victory Points So Far: 220
- Machine Gun lvl 3
X2 Power vs Flamed Specialization - Cannon lvl 3
- Bomb lvl 3
- Flamer lvl 3
- Comms lvl 3
Increased interest specialization - Rocket lvl 1
Perks used for this mission:
- Greenback II
- Iron Back II
- Fast Fingers
This is another level where heavy damage will be inflicted upon your turrets, making the reinforcement a real money-saver. Fast Fingers will increase overall damage, which will be useful against the heavily armored enemies in this level.
Hidden Target
There is no hidden target in the counterattack.
Turret Placement

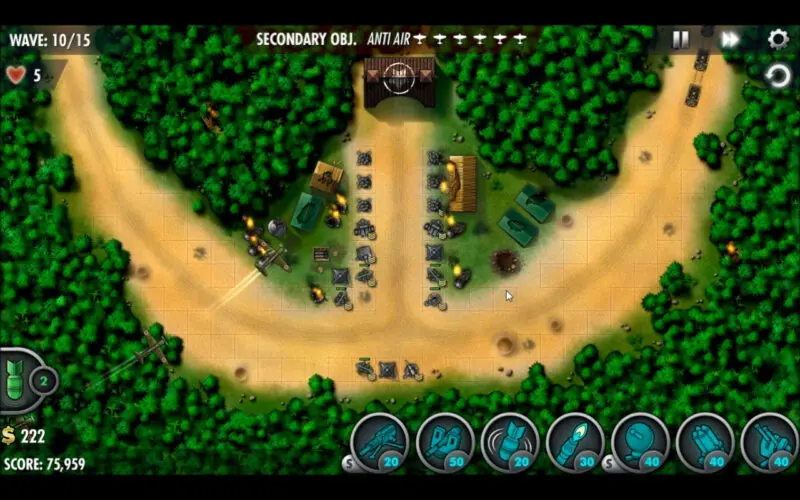
Starting placement. Wave 5.
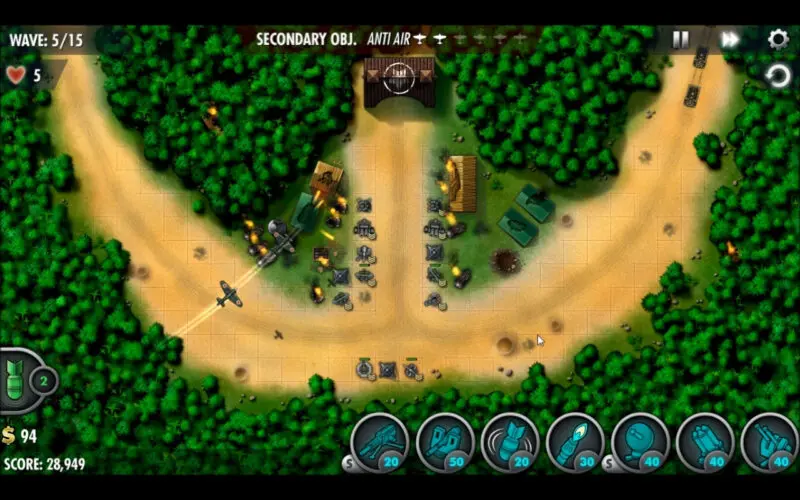
For starters, make sure you take a quick look at the Alligator Creek guide if you have not done so before; it will relate a lot to this guide, since the turrets carry over to this level. This mission will focus mostly on enhancing the corridor of death we created previously with stronger weaponry while filling in the 6 free slots we left open near the top of the central path with anti-air turrets throughout the level. Sell the pair of Machine Guns placed to the side of the central path for defending the ex-base that was the secondary objective here previously.
The first 2 AA towers should go down right away as air comes in the first wave (as soon as you repair everything, of course). The last four should go up by the 8th–10th wave since the air power will be significantly stronger by then. Besides this, try to save up some money to accrue interest and expand on the corridor, making new turrets towards the bottom of the path to maintain a clustered line of fire. Finally, the Rocket Turrets can be dug in and positioned to fire down the alley (if not already) for some seriously heavy damage.
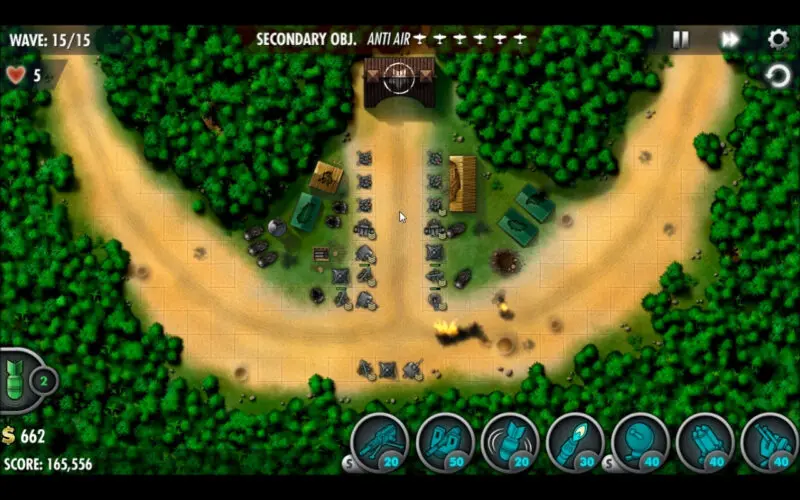
Wave 10 turret placement. Wave 15.